5 Methos for Recover Google Photos on Samsung Galaxy
This comprehensive guide aims to familiarize you with five effective methods for recovering your lost or deleted Google Photos on Samsung devices.
In the age of digital photography, Google Photos has established itself as the primary platform for storing, managing, and sharing cherished memories. Nevertheless, there are situations where valuable images are unintentionally deleted or become unattainable. In such scenarios, having a dependable Google Photos recovery solution becomes indispensable. This comprehensive guide aims to familiarize you with five effective methods for recovering your lost or deleted Google Photos on Samsung devices. Each method will be presented in detail, enabling you to select the most appropriate solution based on your particular circumstances and level of expertise.
Guide List
- Section 1: Familiarize Yourself with Google Photos Recovery Choices
- Section 2: Utilize Google Photos' Inherent Recovery Capabilities
- Section 3: Retrieve Google Photos from Samsung Device Backup
- Section 4: Sync Google Photos with Google Drive for Effortless Recovery
- Section 5: Retrieve Google Photos Archive with Google Takeout
- Section 6: Advanced Google Photos Recovery with iDATAPP Samsung Data Recovery
Section 1: Familiarize Yourself with Google Photos Recovery Choices
Before delving into particular methods, it's vital to grasp the various recovery possibilities for Google Photos on Samsung galaxy devices. These options encompass utilizing Google Photos directly, leveraging Samsung phone device backup, making use of Google Drive synchronization, utilizing Google Takeout, and employing the iDATAPP Samsung Data Recovery tool. This article will offer a thorough overview of each approach and furnish step-by-step directions for accomplishing successful Google Photos recovery.
Section 2: Utilize Google Photos' Inherent Recovery Capabilities
Google Photos incorporates inherent recovery functionalities enabling users to retrieve erased photos within a specific timeframe. These capabilities provide a user-friendly and uncomplicated approach to restoring lost images. The subsequent methods elucidate the utilization of Google Photos' trash folder and harnessing Google Support for the retrieval of deleted photos.
Way 1: Regain Erased Google Photos via the Trash Folder
Google Photos' Trash folder retains deleted items for a duration of 60 days, offering a convenient and efficient approach for users to retrieve images without the need for supplementary software or utilities.
Execute the following steps to recover deleted photos from the Trash folder:
- Launch the Google Photos application on your Android device.
- Access the Menu (represented by three horizontal lines) situated at the top left corner.
- Opt for "Trash" or "Bin."
- Handpick the deleted photos you desire to retrieve.
- Utilize the Restore symbol to restore the chosen photos.
Way 2: Regain Irreversibly Deleted Google Photos with Google Support
Google Support can be a valuable resource for recovering photos that have been permanently deleted or are outside the 60-day window of the Trash folder. This is particularly beneficial for users who have a Google One subscription.
To recover permanently deleted photos using Google Support, adhere to these steps:
- Launch a web browser and navigate to Google Drive Support.
- Supply the essential information, including your email address and specifics about the deleted photos.
- Forward the request and await a response from Google Support.
Section 3: Retrieve Google Photos from Samsung Device Backup
Most Samsung galaxy devices offer an automated backup feature that securely stores data, including photos, on Google Drive. This feature acts as a safety net, facilitating the effortless recovery of images from Google Drive.
To restore your Google Photos from Samsung device backup, abide by these instructions:
- Launch the Google Drive app on your Samsung device.
- Access the Menu icon and opt for "Backups."
- If an existing backup holds your missing photos, choose that backup and follow the on-screen guidance to reclaim your lost pictures.
Section 4: Sync Google Photos with Google Drive for Effortless Recovery
Enabling synchronization between Google Photos and Google Drive simplifies the process of accessing your images. You can effortlessly retrieve lost or deleted photos by navigating to the synchronized folder in Google Drive. here is the guide to recover samsung backups from google drive.
Here's how to recover Google Photos through Google Drive sync:
- Launch the Google Drive app on your Samsung device.
- Find the Google Photos folder.
- Look for the photos you've lost or deleted and proceed to download them to your device.
Section 5: Retrieve Google Photos Archive with Google Takeout
Google Takeout is a valuable tool that lets you access your Google Photos archive, facilitating the recovery of lost or deleted images by extracting them from the archive.
Here are the steps to recover Google Photos using Google Takeout:
- Visit the Google Takeout website.
- Sign in to your Google account that is associated with your Google Photos.
- Choose "Google Photos" from the list of products to be included in the archive.
- Proceed to the next step and follow the on-screen instructions.
- Download the Google Photos archive and extract the missing images.
Section 6: Advanced Google Photos Recovery with iDATAPP Samsung Data Recovery
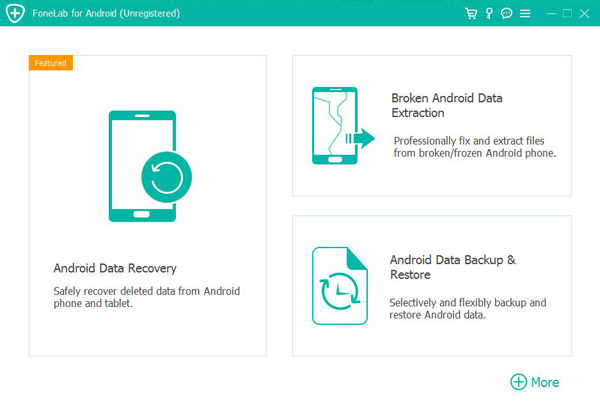
When standard recovery methods fall short or demand technical expertise, the iDATAPP Samsung Data Recovery tool emerges as a robust and user-friendly solution for retrieving lost or deleted Google Photos.

Here are the steps to recover Google Photos using iDATAPP Samsung Data Recovery:
1. Download the iDATAPP Samsung Data Recovery tool.

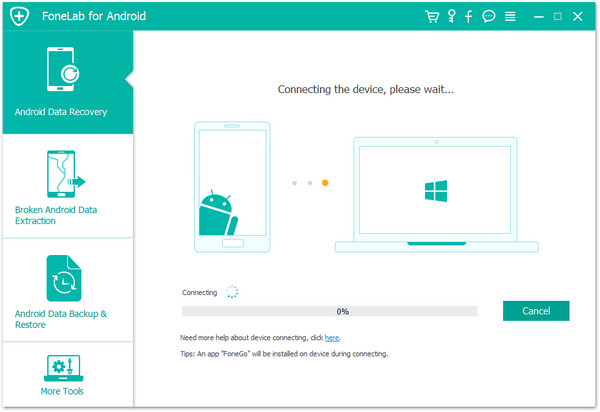
2. Install the program and establish a connection between your Samsung device and your computer using a USB cable.

3. Enable USB Debugging on your Samsung Galaxy device.
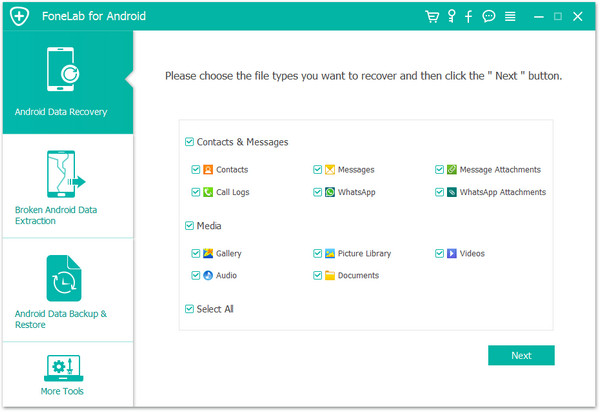
4. Select the Photos data type and initiate the scanning process.

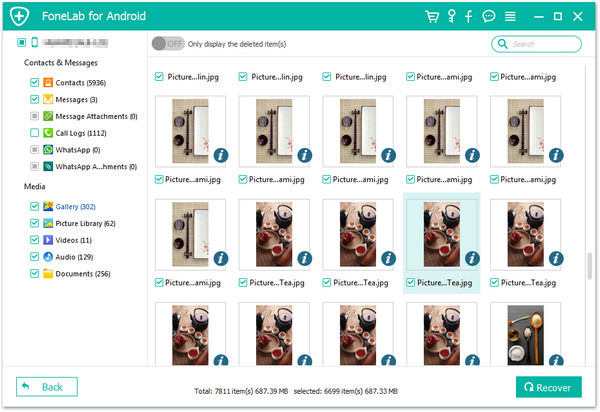
5. Preview the scanned photos and opt for the ones you want to recover.
6. Click on the Recover button to restore the chosen Google Photos.

All in all, it can be frustrating to store your precious memories in Google Photos on your Samsung Galaxy device. But as long as you master the five proven techniques above, complete with detailed introduction and step-by-step guidance, you can master recovering memories from Google Photos and ensure your cherished photos are never lost.
